For the past eight months or so, I have had an evening routine that involves doing 15-20 minutes of yoga right before bed. My favourite yoga teacher, Juliana from Boho Beautiful, said something in one of her most recent videos that really resonated with me:
“Strength: Something that one achieves through overcoming the things they thought they couldn’t do. That moment when you prove yourself wrong. When you realize that there is an incredible, powerful fire within you. And all it takes is the belief and courage to create that spark. It’s in that moment when your body wants to stop, but your mind says, ‘I’m not done yet.'”
I took those words into the marathon, and they have stayed with me in the three weeks proceeding. I think one of my biggest weaknesses is my reluctance to believe in myself. Increasingly, I am learning that self-confidence doesn’t suddenly appear; rather, it comes from confronting your doubts over and over again. In my case, running a marathon was the culmination of months of both hard work and self-doubt. Completing it taught me that I am strong and capable of doing difficult things. Not everyone has to run a marathon in order to have such a realization, but I believe that the only way to become a stronger person is by constantly proving to yourself that you can overcome the things you thought you couldn’t.
You and I are a lot stronger than we think. All that is needed to cultivate our strength is courage and belief. I challenge myself, and you, to do one thing every week that scares you and that you don’t fully believe that you can do. This could be anything from running 10 km without stopping to saying something positive about yourself every day. Once you face your fears head on, you will probably realize that you had no reason to be afraid, and that you have more strength than you ever knew.

When I returned home following my marathon weekend with that boost of self-confidence, I channeled it into creative pursuits such as blogging and food photography! The ideas have just been pouring out of me, and I am not complaining about it, seeing as I was in such a slump during the summer months.
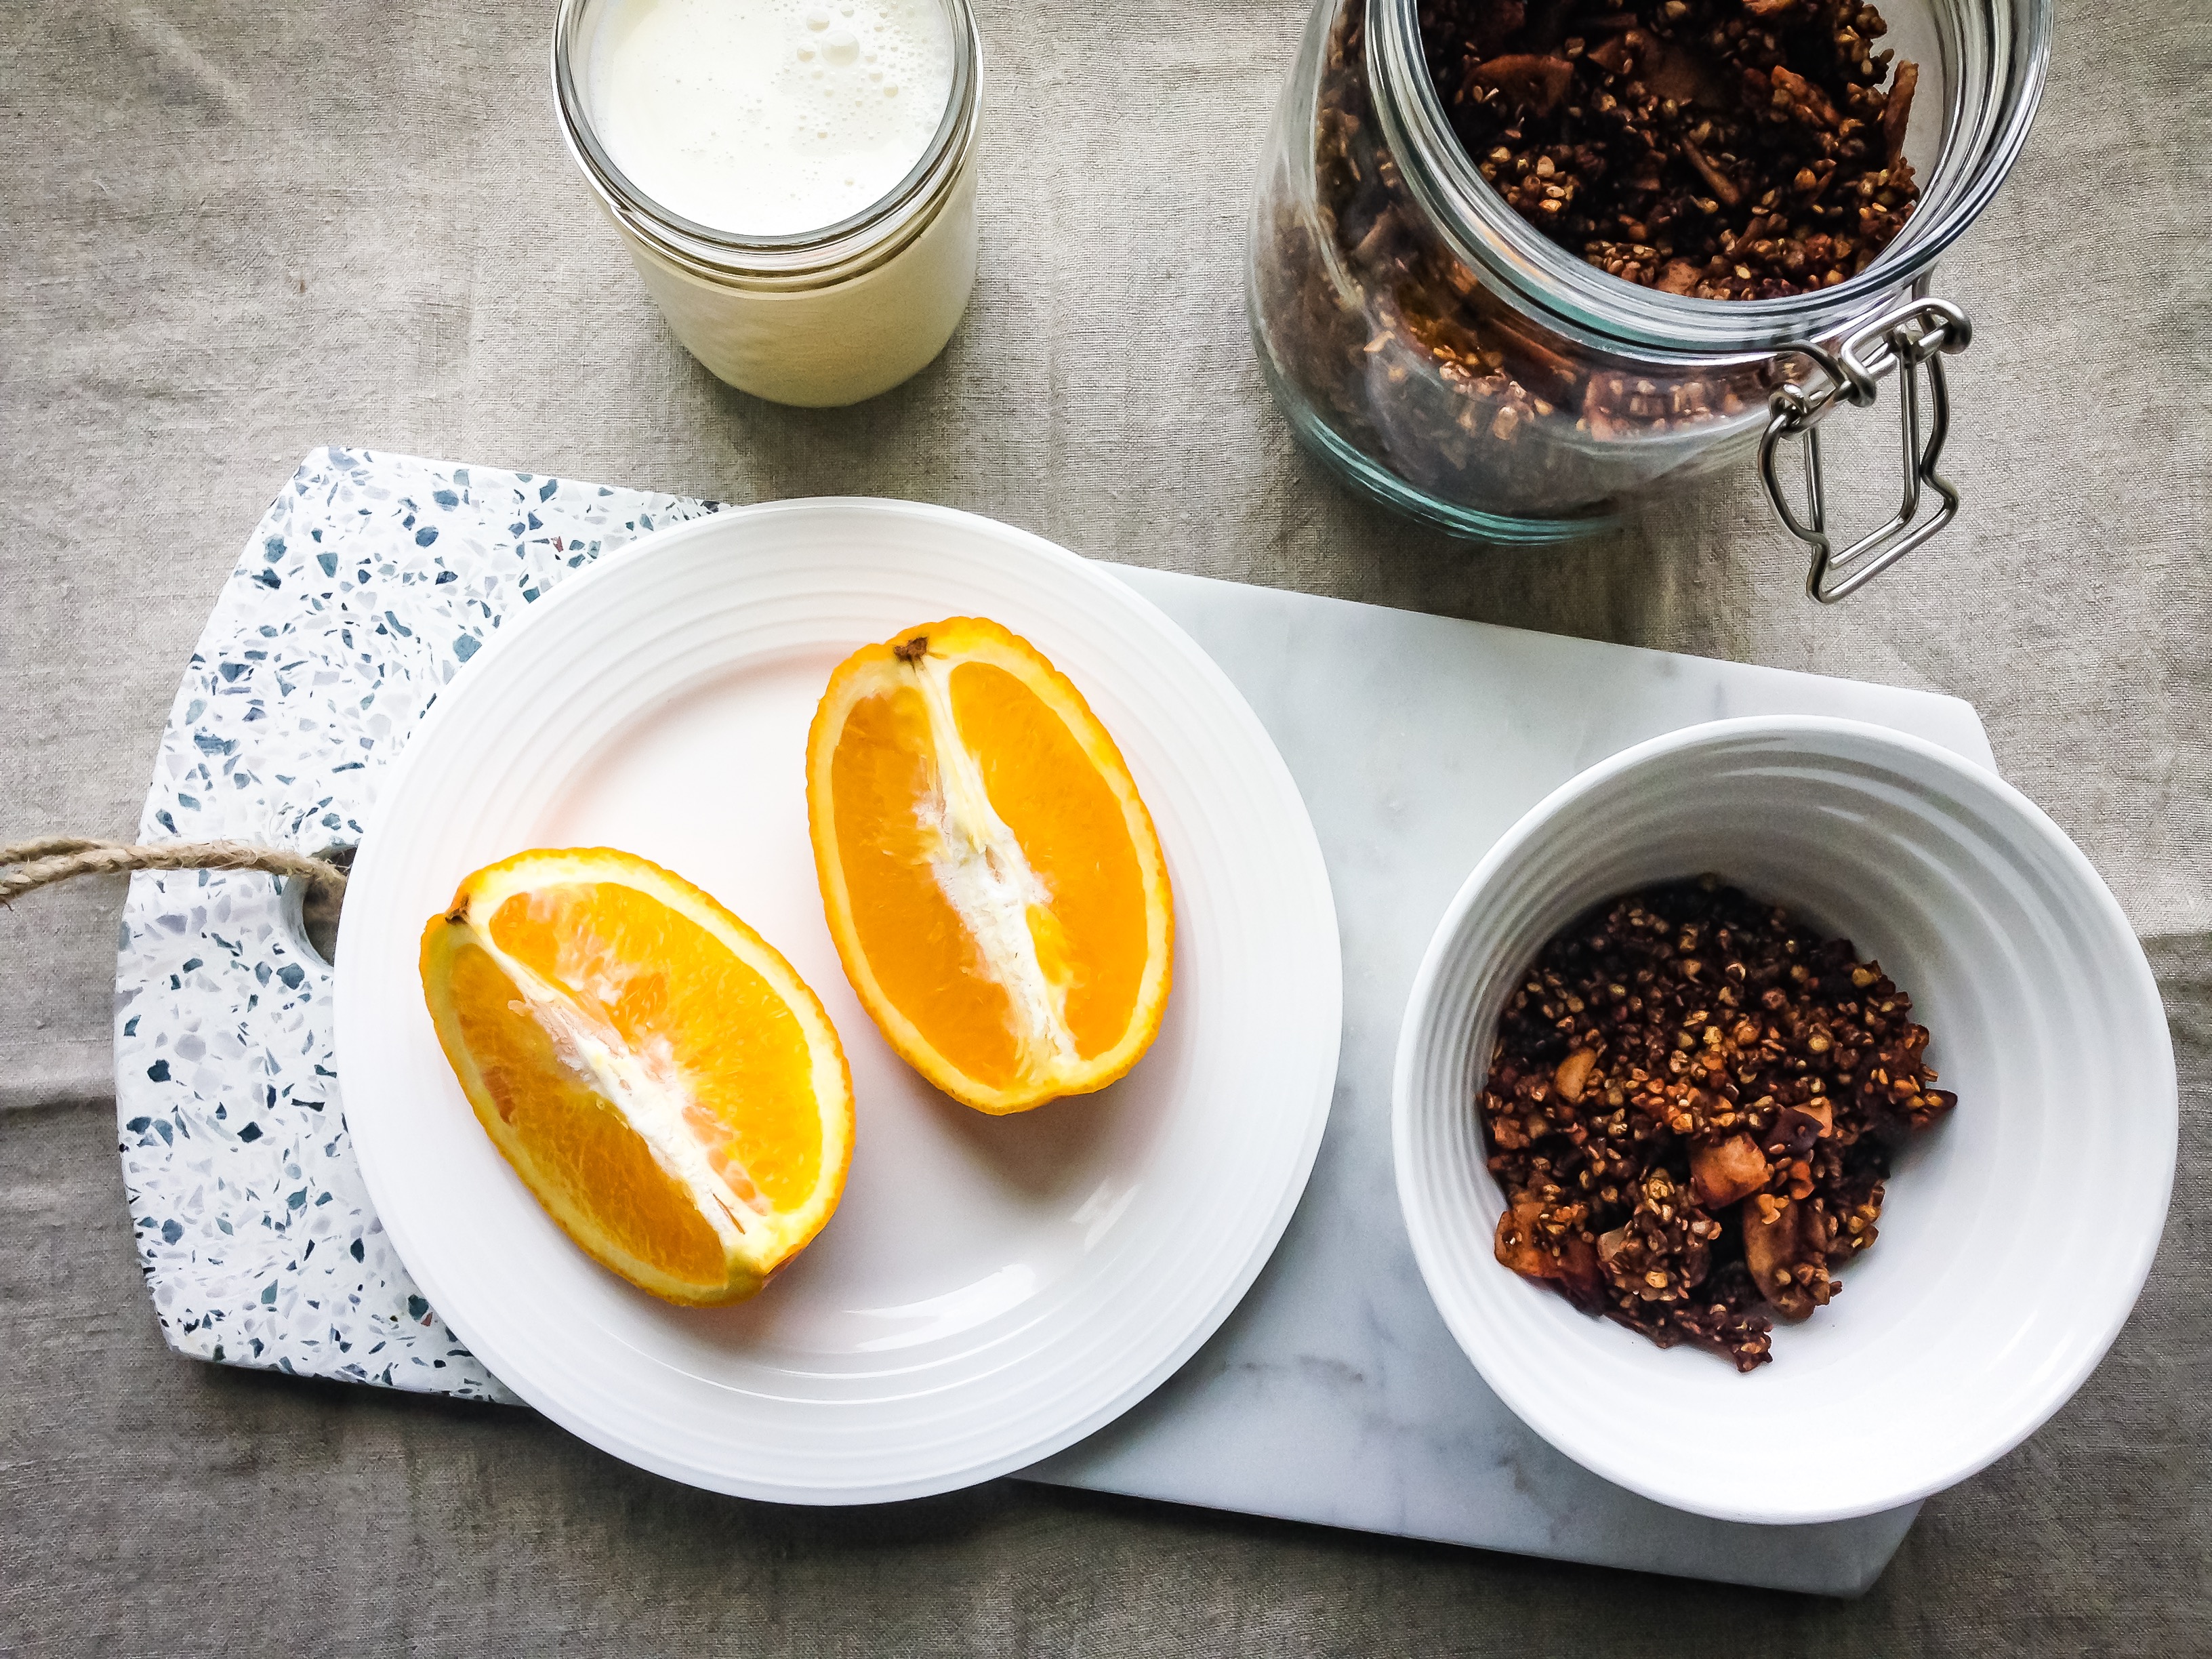
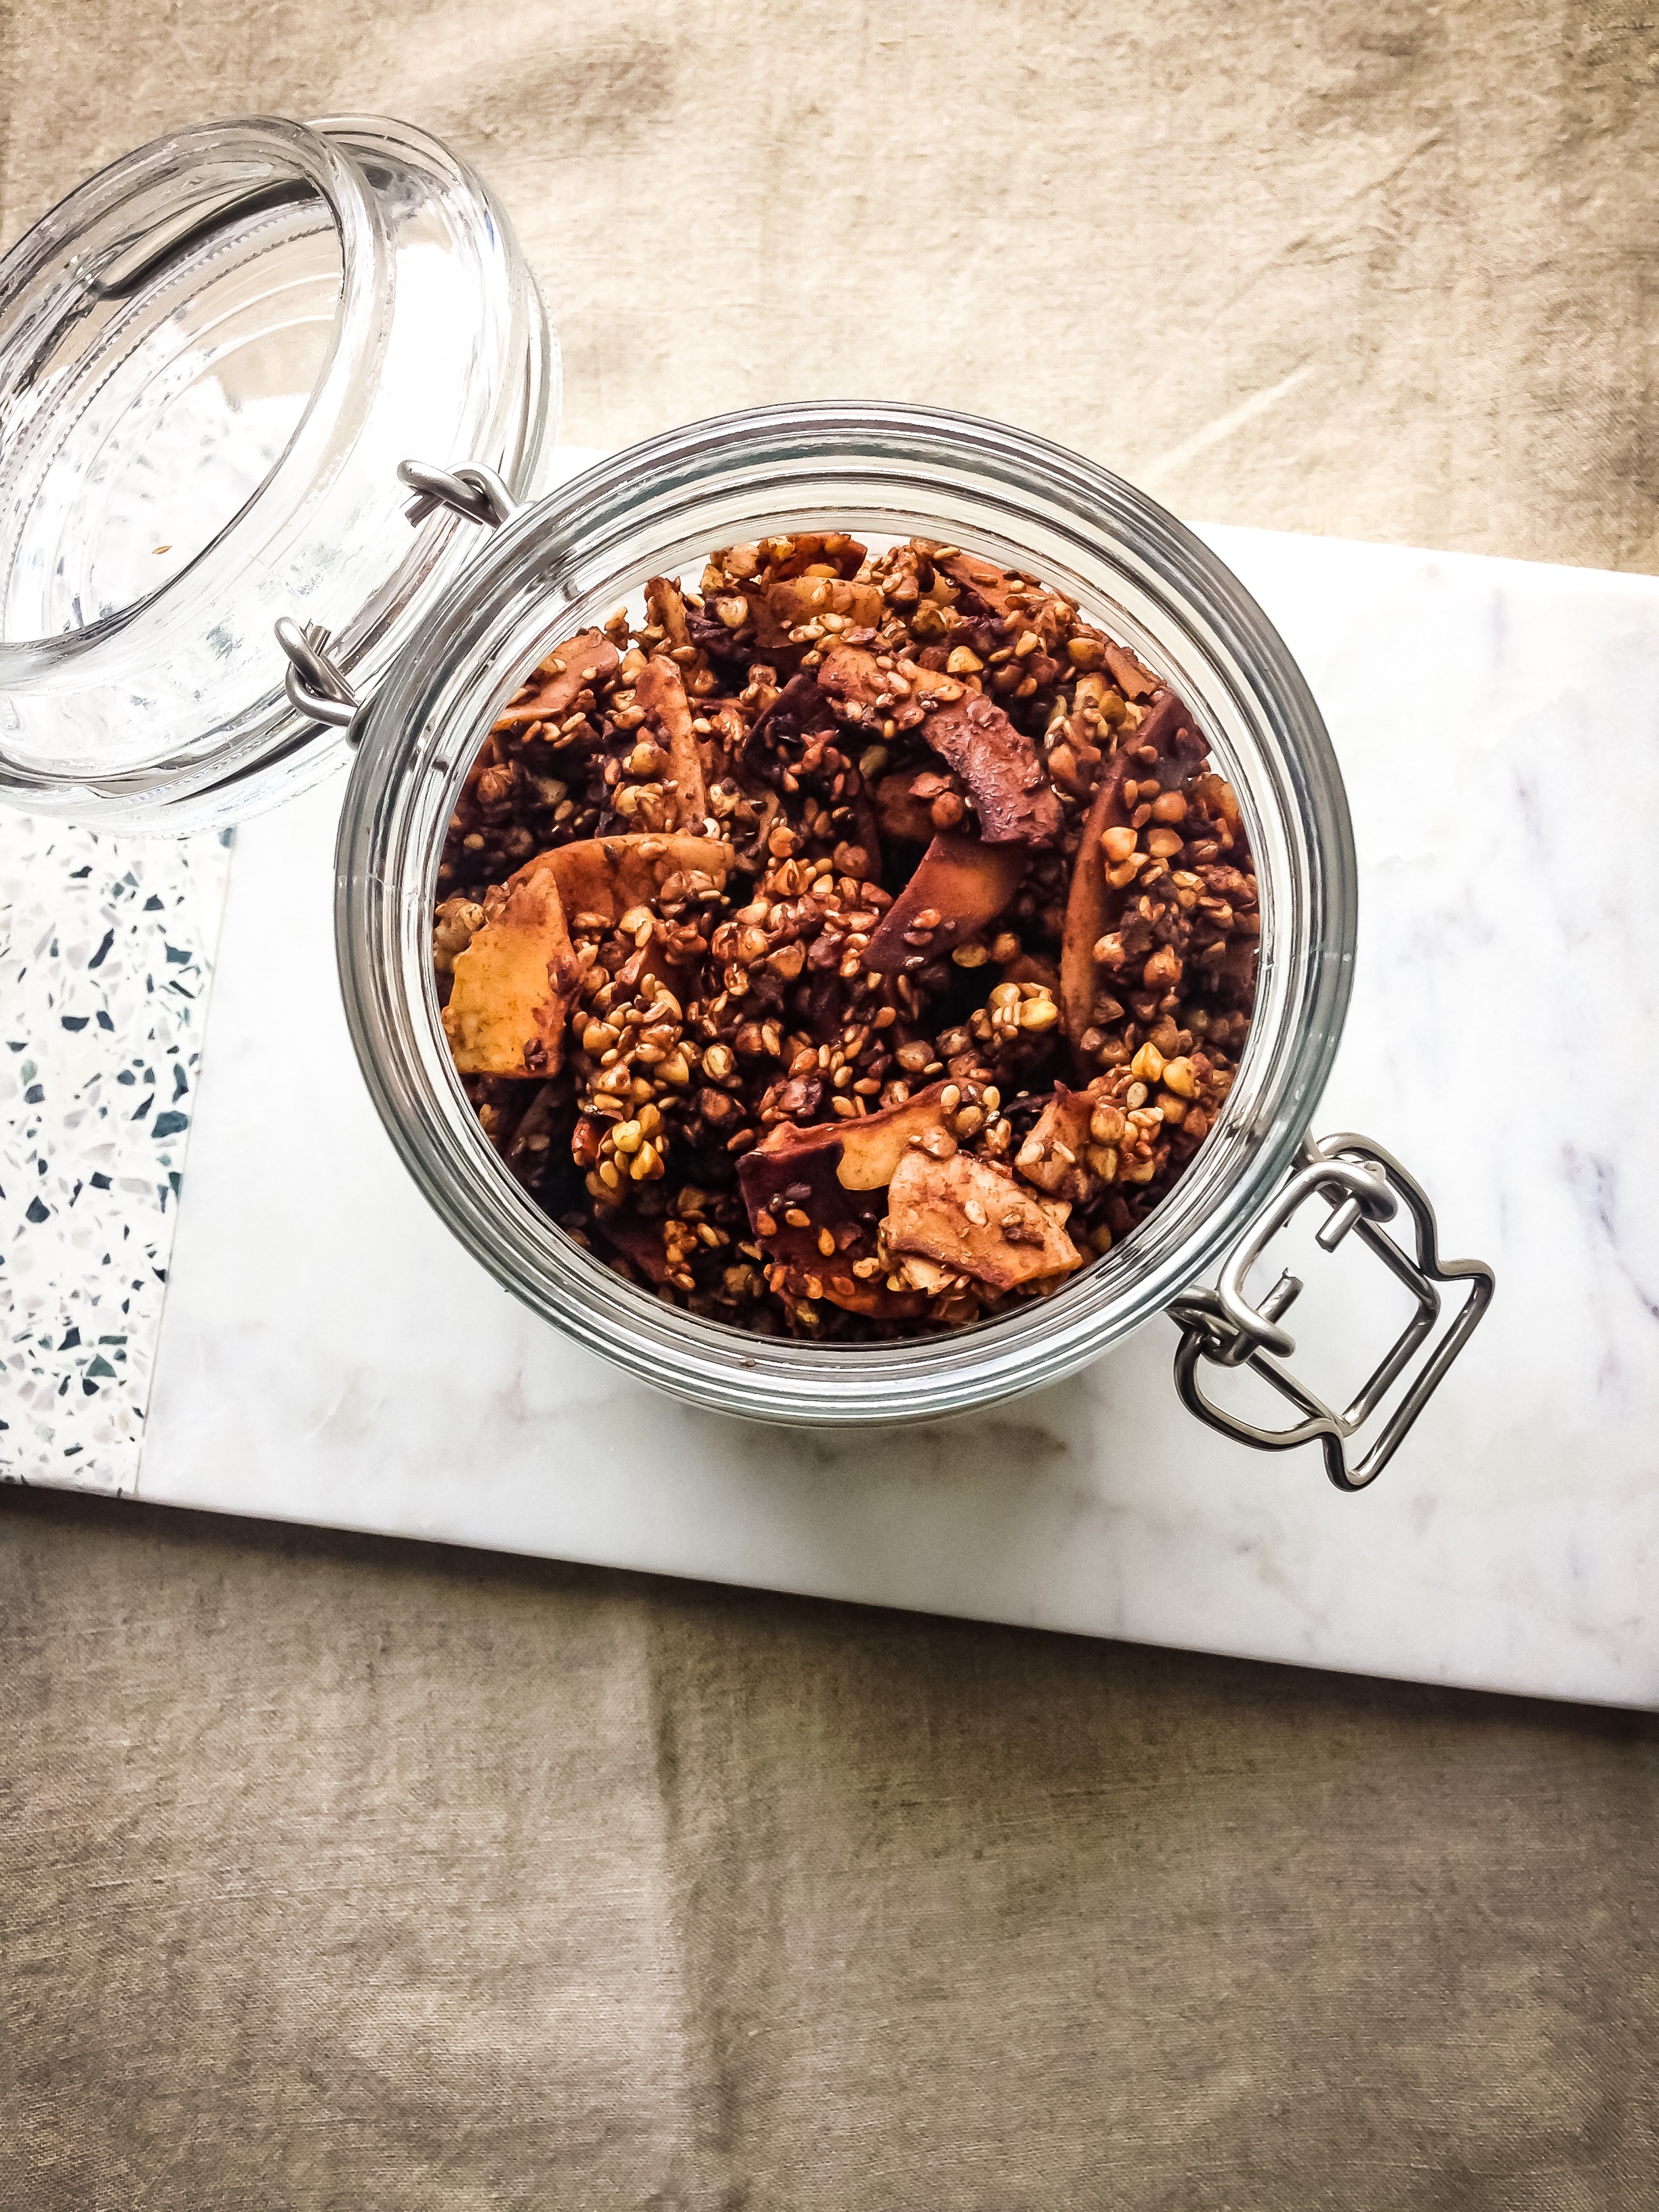
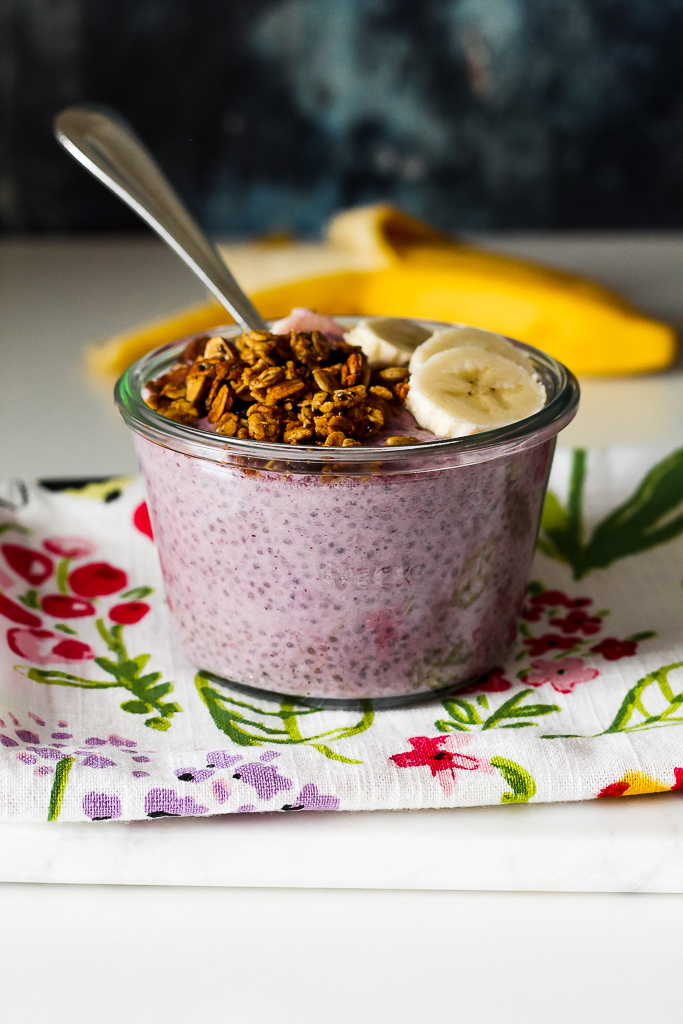
One idea that came to me last week was an oat-free granola-cereal hybrid that could be sprinkled on top of smoothie bowls, yogurt, and porridge. Naturally, chocolate featured heavily in my vision. By some miracle, I ended up nailing the recipe on my first try, and I am so excited to share it with you below! It’s sweet, crunchy, chocolaty, and eminently snack-worthy. Bonus points for being vegan and gluten-free. And, if you don’t want to share, simply tell your housemates that you burned your granola, and you will magically have an entire batch of this cereal ALL. TO. YOUR. SELF.
If you make this recipe, don’t forget to tag me on Instagram using #holisticallie so that I can see your creations!
Happy weekend, friends!
-Allie xx
Chocolate Coconut Buckwheat Crispy Cereal
Servings: Approximately 5 cups; enough for 10 ½ cup servings
Time: 15 minutes prep + 50 minutes baking
Cuisine: Vegan, Gluten-free
Ingredients:
- 1 ½ cups raw buckwheat groats, soaked for at least 1 hour
- 1 ½ cups large flake coconut
- 2 tablespoon chia seeds
- ½ cup sesame seeds
- 3 tablespoon maple sugar or coconut sugar
- ¼ teaspoon sea salt
- 2 tablespoon virgin coconut oil, melted
- ¼ cup pure maple syrup
- 3 tablespoon cocoa powder
- 1 teaspoon pure vanilla extract
Instructions:
- Preheat the oven to 325 degrees F and line a large baking sheet with parchment paper.
- Drain and rinse the buckwheat in a fine sieve. Pour it into a clean tea towel and pat it dry.
- Pour the buckwheat into a large bowl. Add the coconut, chia, sesame seeds, maple sugar, and sea salt, and stir to combine.
- In a small bowl, whisk together the coconut oil, maple syrup, cocoa, and vanilla.
- Pour the coconut oil mixture over the buckwheat mixture and stir until every last bit of buckwheat and coconut is coated.
- Spread out in an even layer on the prepared baking sheet and bake for 50 minutes, stirring halfway through.
- Allow the crisps to cool fully on the pan before storing in a large glass jar. They will keep in a sealed container at room temperature for at least a week, and in the freezer for several months.


Comments
No Comments